|
Gold Dredge #8
Page 2
|
Another view of Gold Dredge #8 |
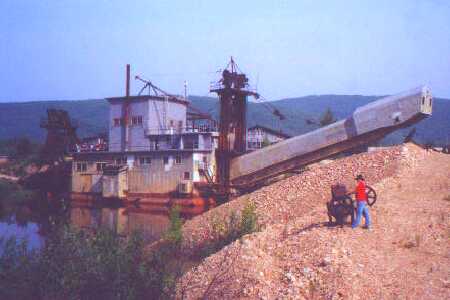
Standing atop hundreds of tones of mining tailings my intrepid guide is posing by what appeared to be some kind of an antique portable liquefied gas blast furnace. A 50 gallon tank can be seen straddling the wheels. The fire box was unusually small, approximately 8"wide 6" tall and maybe 12"deep. After some thought it would appear that this portable unit had been used for blacksmithing the ends of the hydraulic points that were hammered into the ground to thaw out the frozen overburden.
 |
If you take the time to look around on their grounds you will find a lot of artifacts from Gold Dredge #8's mining days that as of yet haven't been incorporated into the tour. The large round disk on the bottom left side is the facet of a large boiler. And just to the right of it is a nozzle from one of the water cannons used to wash away the overburden.
On to the gold panning
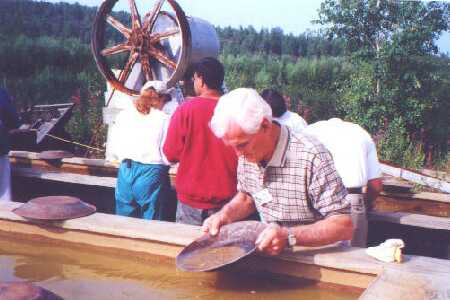
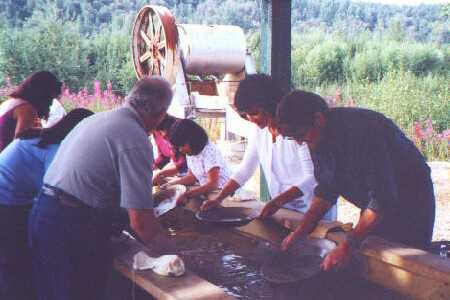
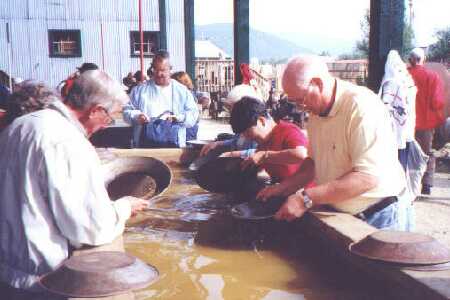
Anyway now that you've completed your virtual tour of the gold dredge, you are probably now ready for a little virtual gold panning action yourself.
As I mentioned on page one the full tour also includes giving you your very own bag of Gold Dredge #8 paydirt, providing you with a pan, demonstrating how it works and then letting you take a crack at it yourself.
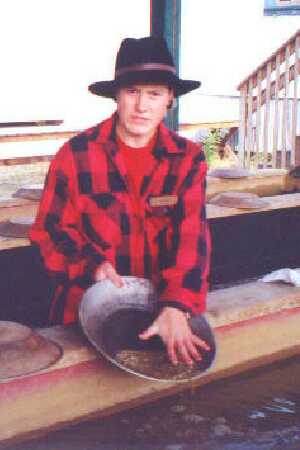
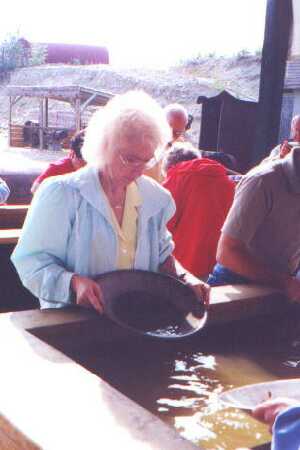
My intrepid guide modeling a gold pan for us.
Gold Panning made easy
In order to successfully gold pan you'll need a few essentials.
1) You need a gold pan, the bigger the better. It doesn't really matter if its the metal type you see in the picture above or a black plastic one with riffles built into its sides. The main thing is that the pan is grease free.
2) You need some soil with gold in it. ( In this case the mine provides that.)
3) You need a stream, pond, or some kind of a trough-like container filled with water to pan in. (At home I have an old cooler that I use in my backyard when I get a hankering to do some panning.)
4) You will also need small vial or a black plastic 35 mm film canister to put your gold in.
Simply put these are the steps to successfully panning for gold.
1) Put about two cups of gold bearing soil in your pan.
If your soil is excessively rocky you may want to run it through some coarsely meshed wire first. Preferably something with 1/4 inch to 1/2 inch holes in it. Shake the screen vigorously so that all the soil goes down into your gold pan. When you're finished you may well want to check over the rocks before discarding them. You never know you may find a gold nugget.
2) Dip the lead edge of your pan into the water filling it about halfway. Then taking a firm grip on your pan on both side vigorously shake the pan from left to right for about thirty seconds.
If you do this right it'll look like a storm at sea with the water and soil churning. I might add that you don't want to have the stuff sloshing over the sides during this step.
3)You now want to tilt the pan up away from you at about a 60 degree angle. At this point you are going to skim the surface of the water about a 1/2 inch to 3/4 of an inch deep allowing the wave to flow over you pan's contents. And still maintaining that 60 degree angle you then want to draw the pan back towards you.
When done properly a layer sand and silt will lightly flow out of your pan.
4)After doing step 3 3 -4 times you will want to reduce the angle of you pan to about 45 degrees. Dip the pan into the water filling it about 1/3 of the way and then vigorously shake it again from side to side to work the gold down to the bottom of the materials.
At this time you may want to remove any stones that have come up to the surface.
5) Once again you want to raise your gold pan up to about sixty degrees and moving your pan in a forward motion skim the surface of the water and then as if you changed your mind midway draw the pan back toward you watching as layer after layer of light sand and silt flow out from you pan on the back stroke.
Keep this going about 3-4 times.
6) By now a pattern should be begin to emerge here. Now you're going to once again lower you pan to about 45 degrees scoop up some water and shake vigorously. You will then pause and remove any rocks that have appeared on the surface.
7) Once again you want to raise your gold pan up to about sixty degrees and moving your pan in a forward motion skim the surface of the water and then as if you changed your mind midway draw the pan back toward you watching as layer after layer of light sand and silt flow out from you pan on the back stroke.
Keep this going about 3-4 times. At this point you should be getting down towards the bottom of what's in your pan.
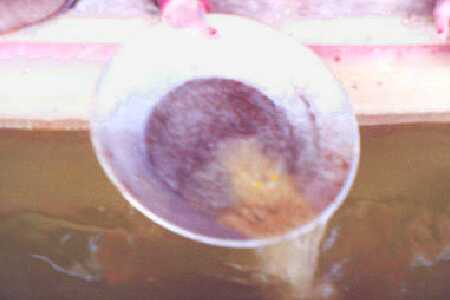
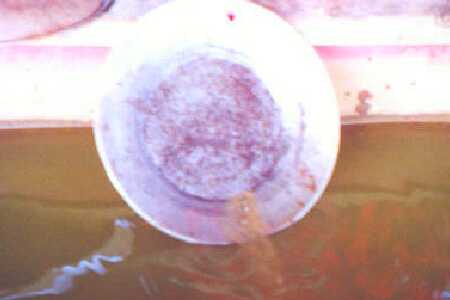
8) Once your down to an ounce of sand or less shake your pan vigorously once more at a 45 degree angle and then gently using your dipping motion described above let the sand float off until you see "Color" gold in your pan.
I do not recommend that you pan out all the sand. Instead add about an ounce of water tilt the pan back down until its nearly flat and in a rotating motion let the water pull the remaining sand and gravel around the pan. If done properly you will see gold flakes resting in the other end of the pan.
9) Pour off the excess water and with a DRY finger touch the gold flakes. They will stick to dry skin. Then by tapping your finger on the side of your vial or 35 mm film canister the flake will dislodge itself and fall into it.
10) Once you have picked out the major pieces, you you may well want to try to pan out what is still left in you pan and see if there isn't a few other little pieces of gold hiding in the sand.
Congratulations!
You have just completed Alaskan Dreams virtual course on gold panning 101. While this is a non-acredited course at this time we at Alaskan Dreams earnestly hope to be able to provide some type of certification for this and other virtual courses we'll be offering some time in the future.
The Management
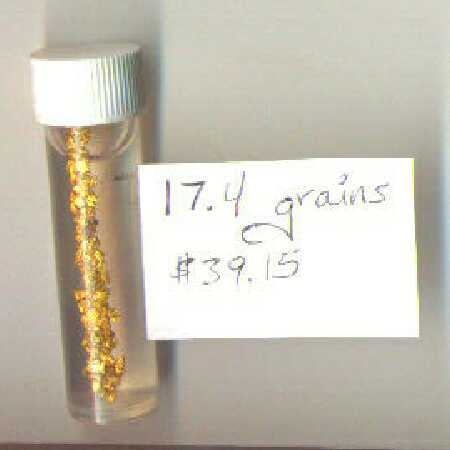 |
As a novice gold panner in about an hour I was able to amass the gold flakes you see in the vial above. I must say that I was pleasantly surprised how easy it was.
The way it works is you get your first bag of of paydirt on the house. Thereafter you can buy additional bags of paydirt or pan for the gold what other tourists missed and fell to the bottom of the panning vats.
Being that I'm more or less on a shoe string budget I chose the latter. And as I mentioned above all the gold you see in that vial was panned out in about an hour by which time my back was getting tired. And to tell you the truth I hadn't even begun to scratch the surface of what was inside those vats.
Note: While The Management of Gold Dredge #8 and other gold panning facilities in and around Fairbanks guarantee gold for everyone, the amount that you recover is based upon one's ability at panning.
For more information and or directions call (907) 457-6058